
Make Dried Orange Slices in Your RV

Dried orange slices are one of my favorite ways to include natural elements in my seasonal RV decor. Not only are they beautiful all on their own, they are also very versatile and can be used in garlands, potpourri, garnishes, centerpieces, and more. Given all of this, they still find even one more way to one-up themselves, and it’s their incredibly delicious scent.
To me, nothing says ‘holiday season’ like filling your home with nostalgic smells, and the process of drying orange slices tops the list.
Living in an RV can make otherwise everyday tasks a bit more challenging, and baking in your RV kitchen tends to be one of these. Making dried orange slices in a traditional residential setting can sometimes take patience as it is, but add in the challenges of tiny living appliances and space limitations, and it might seem impossible. However, I promise that it’s not.
Here’s what you will find in this post:
Two ways to easily make dried orange slices in your RV (+ one bonus method)
How to store dried orange slices
Inspiration and how to use dried orange slices in your RV decor
How to make dried orange slices in your RV
When making dried orange slices in your RV, there are a few options. Two of the primary methods most RVers will have available to them will be drying orange slices in an oven or air drying orange slices.
Supplies needed:
Oranges
Sharp knife
Cutting board
Paper towels
Parchment paper
Baking sheet
Cooling rack
(Optional: mandolin slicer)
1 | Drying orange slices in an oven
Step One: Heat oven to 200 degrees, or the lowest temp possible for your oven. (Our RV oven’s lowest temperature is 300 degrees).
Wash and pat dry oranges, and slice into thin slices (about 1/4” or to your desired size) using a sharp knife or a mandolin slicer
Step Two: Place orange slices between sheets of paper towels, and press gently to remove excess moisture
Line your baking sheet with parchment paper, and lay orange slices in a single layer
Step Three: Bake orange slices for 1-4 hours, flipping orange slices over every 15-30 minutes and allowing steam to escape from the oven
Note: This is the part where your experience will greatly vary. Most directions for drying oranges in an oven will advise that you bake them at anywhere from 150-200 degrees and from 2 to 6 hours. Because our RV oven only goes as low as about 300 degrees, our orange slices bake much faster and are more prone to burning. You will want to monitor your orange slices throughout the process, removing any orange slices that appear to be dry more quickly than other slices, or if you start to see browning.
I also personally prefer to pull the orange slices out of the oven before they fully finish drying, and finish the process with air drying.
Step Four: As you remove orange slices from the oven, lay them in a single layer on a cooling rack and store in a cool, dry space until they finish drying completely
2 | Air-drying orange slices without an oven
There are a few reasons why you might choose to air-dry orange slices instead of using an oven. In an RV, most ovens run on propane and you may not want to have to leave it running for hours at a time. RV ovens are also often much smaller than residential ovens, requiring you to work in smaller batches.
Fortunately, there is a method to air dry orange slices so you can skip the oven altogether.
After slicing oranges, and patting to remove excess moisture, you can either:
String orange slices and hang to dry
Place in a single layer on the cooling rack, and allow to air dry
For either method, it will take 3-7 days for the orange slices to dry, depending on your environment
3 | Drying orange slices in a dehydrator
An additional method to dry orange slices is with a dehydrator. Not everyone who lives in an RV will have a dehydrator, but if you do have one, this may be the option that produces the most consistent results.
Following the same method to prepare the orange slices, instead of using the oven you would follow the directions on your dehydrator for drying fruit slices.
How to store dried orange slices
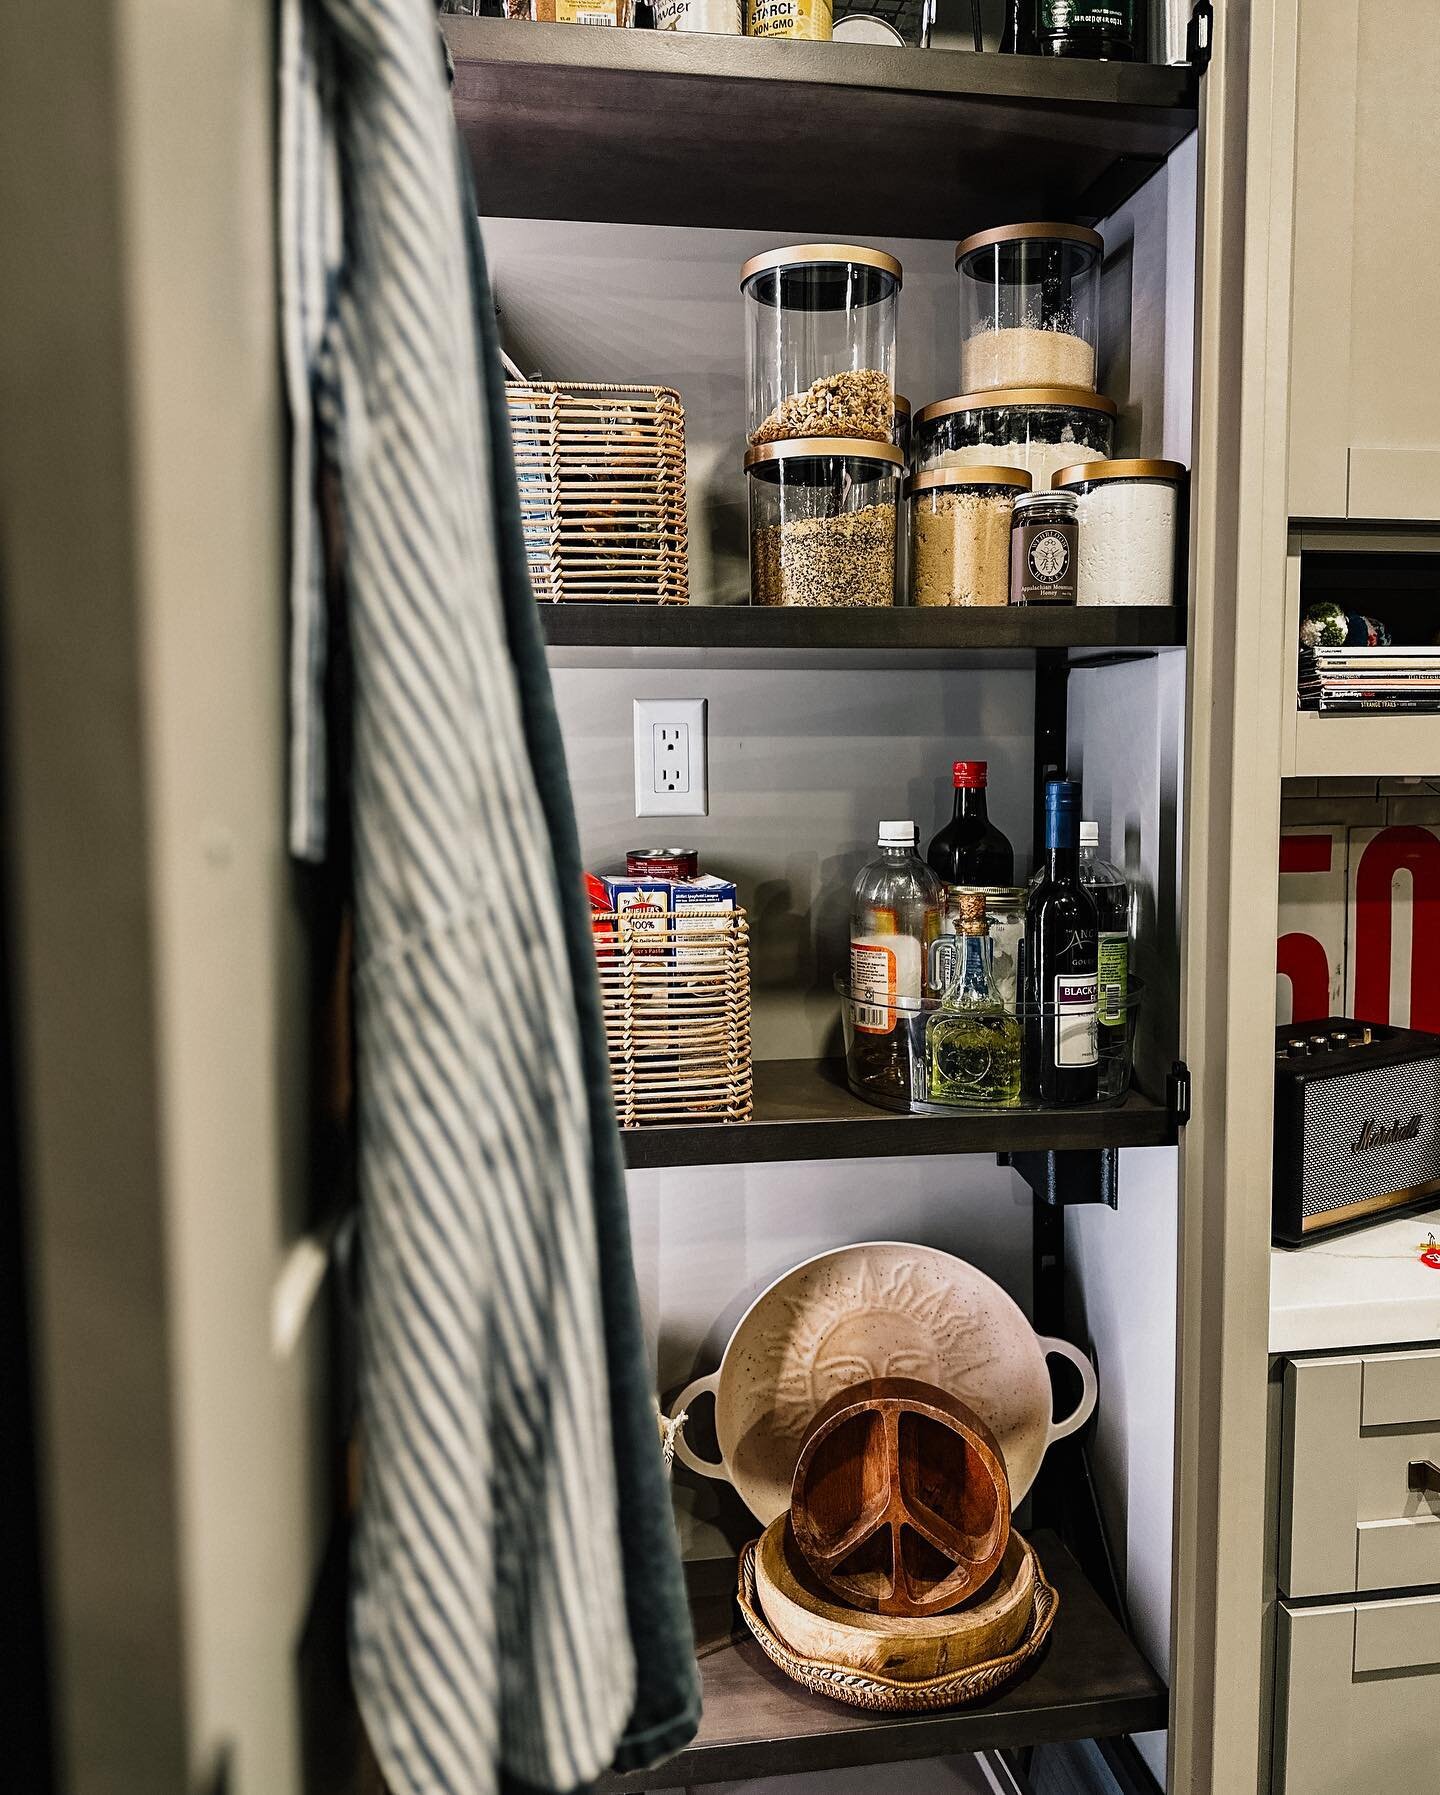
Dried orange slices should be stored in an airtight container, in a cool, dark place. When dried and stored properly, dried orange slices can last up to two years.
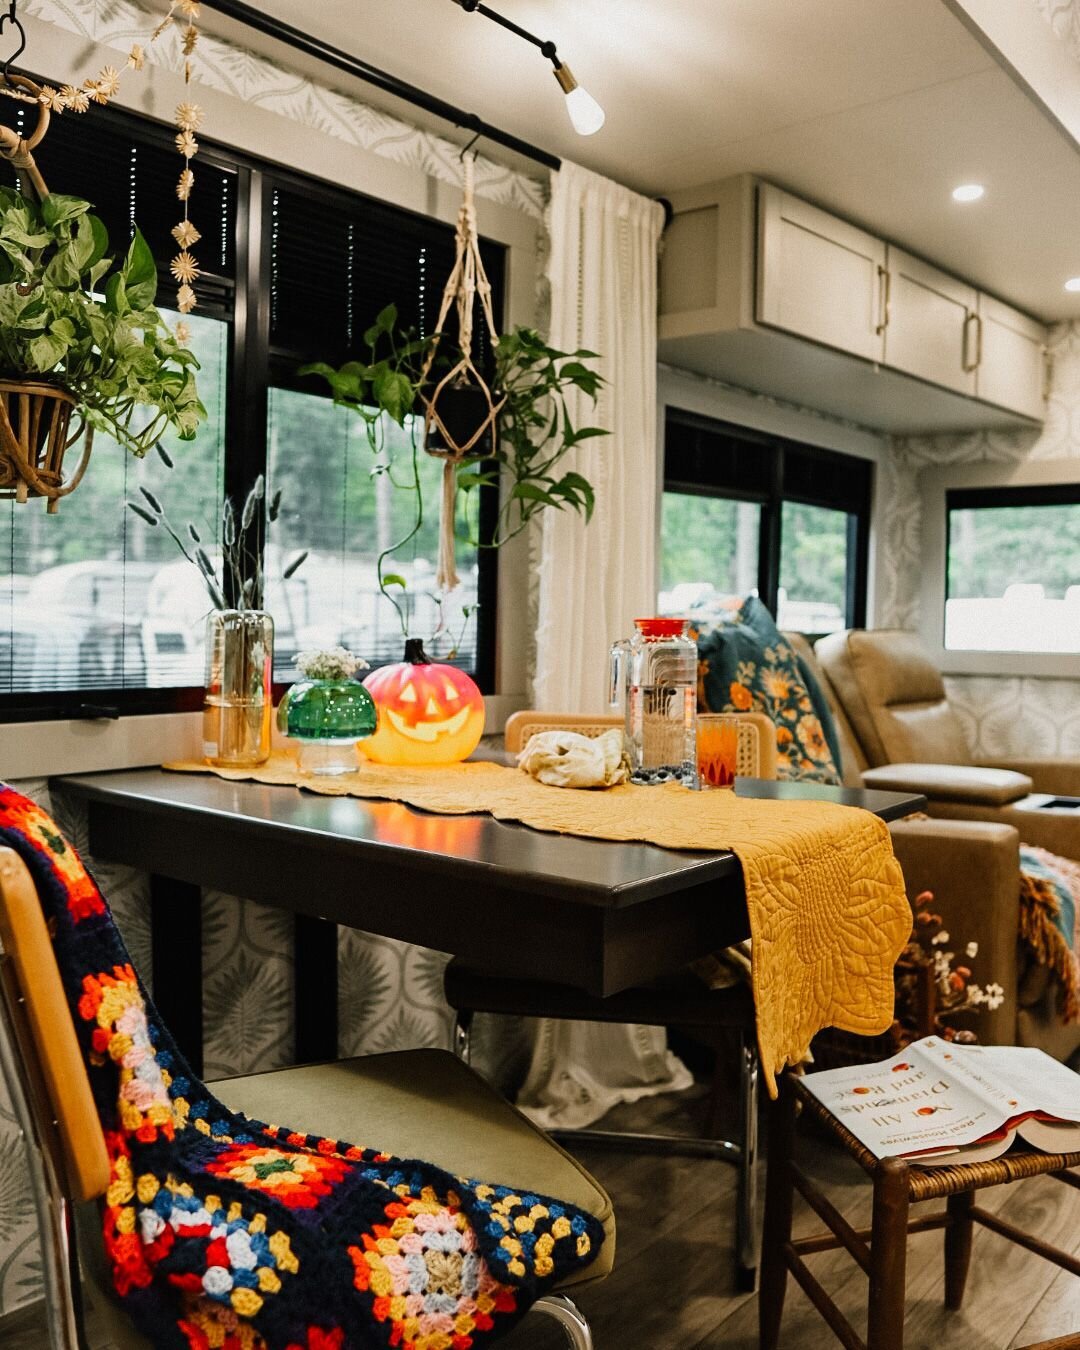
Personally, I left an orange slice garland hanging in our RV kitchen window for over a year, before storing it in an airtight container and using it the following holiday season.
How to use dried orange slices in RV decor
When it comes to using dried orange slices in RV decor, one of my favorite ways is to string them with twine to make garlands. There are several ways to string them, either through the middle of the orange slices, top to top, or individually hung. I like to add sprigs of dried herbs, lavender, or cinnamon sticks. Here are some of the ways that we’ve displayed dried orange slices in our own RV decor.


More Seasonal Inspiration and Fall RV Decor Ideas:
You might also be interested in:
Spice Up Your Fall RV Decor in 7 Steps
How to DIY Fall Macramé Leaves
WANT TO SAVE THIS POST ? PIN FOR LATER


WE’D LOVE TO HEAR FROM YOU
Drop your comments or questions below!
Trending Blog Posts


Follow Us on Instagram
For More RV Decor Ideas


We’re Jen + Eric
After falling in love with everywhere we went, we changed our lives and became full-time RVers.
In the past 3 years, we’ve visited over 20 states, remodeled our first RV, hiked miles of trails, and proved that minimalism is in fact
NOT a pre-requisite for RV living.
Stick around, because we’re sharing everything
from how to get started, our learned experiences,
and most important …
how to make RV life a little ✨ EXTRA ✨